Donkey Car Detailed Explanation (1) – Assembly
Overview
Donkey Car is an AI autonomous driving model car project led by Adam Conway (Twitter) since October 2016. With the rise of AI and autonomous driving technologies in recent years, this project has attracted more enthusiasts, forming the DonkeyCar community.
This tutorial aims to help DonkeyCar beginners get started quickly. If you have any questions or suggestions, feel free to provide feedback.
Choosing a Chassis
The original Donkey Car was modified from the "Exceed" brand 1/16 four-wheel-drive toy car. The official documentation recommends the following models:
- Exceed Magnet Blue, Red
- Exceed Desert Monster Blue, Red
- Exceed Short Course Truck Blue, Red
- Exceed Blaze Blue, Yellow
- Traxxas LaTrax
These cars have the same electronic drive modules, differing only in tires and body mounting methods. Note that the Desert Monster, Short Course Truck, and Blaze require an adapter to secure the Donkey Car motherboard and handle, which can be purchased or 3D printed. These cars are standard configurations, mostly plug-and-play. They come in brushed and brushless motor versions; the author suggests using the brushed motor version as it's easier to train, better for rough surfaces, and cheaper.
Later, enthusiasts began modifying 1/10 scale toy cars, making them larger and upgrading to the Donkey Car Pro version. The Pro version offers better performance but at a higher cost. Supported models include:
- HobbyKing Trooper (non-Pro) Link
- HobbyKing Mission-D Link
- Tamaya TT01 or its clones, which are easy to buy but require assembly, posing some difficulty.
Fewer people use the Pro version due to documentation gaps, so if you start with Donkey Car Pro, you should have good hands-on skills and patience.
Required Parts
Donkey Car has two versions based on the mainboard: one using Raspberry Pi and the other using Jetson Nano. Apart from the mainboard, the required parts and software installation differ.
Option 1 – Purchase through Donkey Car official channels
If you're in the US, you can buy from the original author's Donkey store.
In Asia, you can choose Hong Kong's Robocar Store or mainland China's Robocar Store China.
Official kits or complete cars include:
| Part | Approximate Cost |
| Chassis (from the toy cars above) | Approx. ¥600 |
| Battery and Charger | Approx. ¥120 |
| Raspberry Pi 3b+ | Approx. ¥300 |
| 128G SD Card | Approx. ¥120 |
| Other Accessories | Approx. ¥600 – ¥875 |
Option 2 – Purchase parts individually
If you need to buy parts individually, refer to the author's links. Note that if you assemble it yourself, you'll need to 3D print Donkey Car parts. If you don't have a 3D printer, consider buying one from Beets3D.
For specific printed parts, refer to the official documentation, link.
Jetson Nano Upgrade
For faster performance, choose Jetson Nano with a GPU as the mainboard. Besides changing the mainboard, you'll need a Jetson Nano adapter, network card, and compatible camera (see this article).
Jetson Nano Adapter
Note that Jetson Nano's pin layout is opposite to Raspberry Pi's, so be careful when using other expansion boards.
Battery
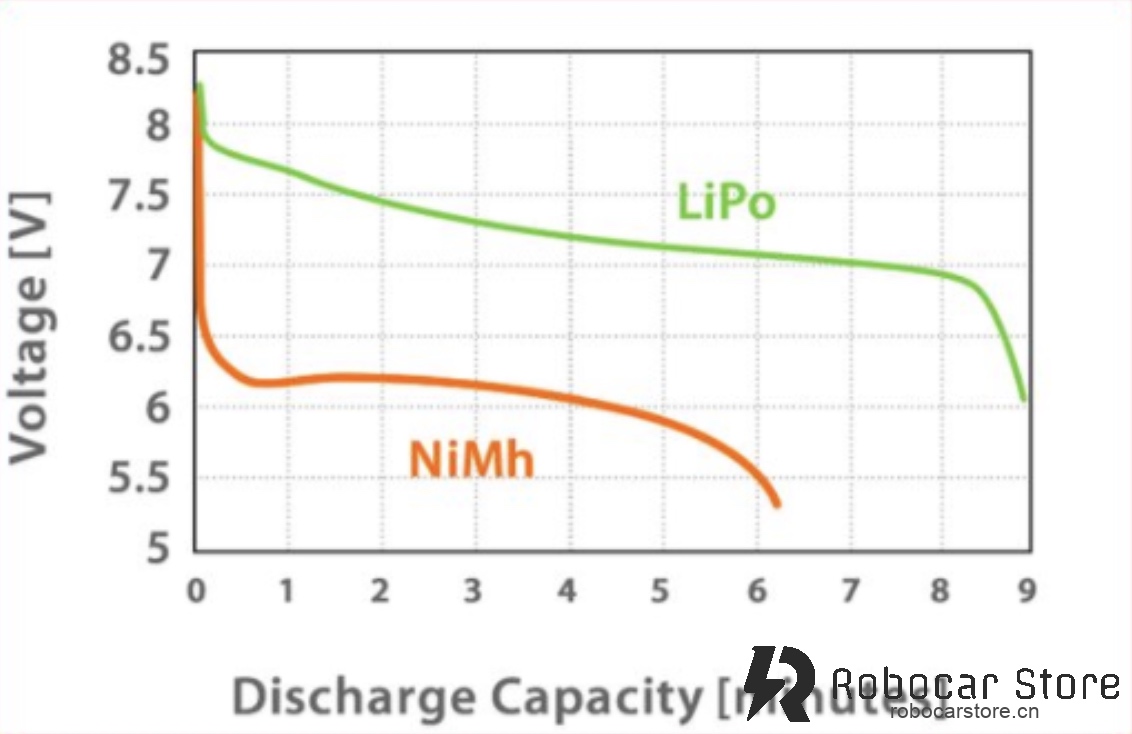
We strongly recommend using lithium polymer batteries for their higher energy density and smoother voltage drop curve, providing more stable voltage.
Hardware
If you purchased Donkey Car from the official store, you can skip the first two steps.
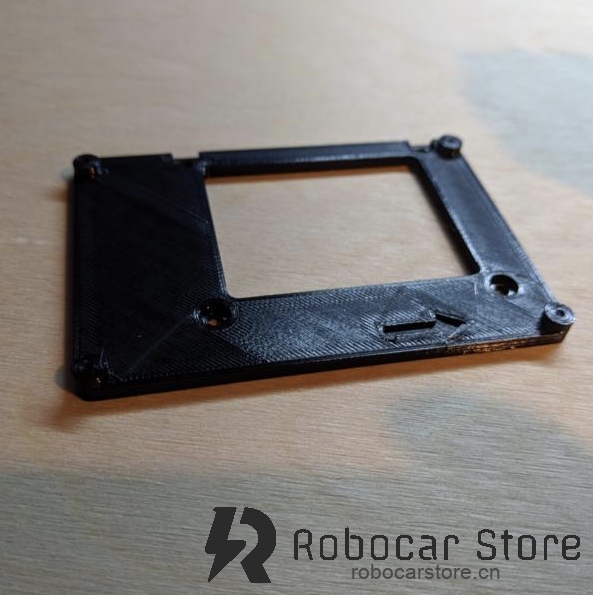
Step 1: Print Parts
If you don't have a 3D printer, buy printed parts from our store or find a third-party printer. For PLA printing, set layer height to 2mm and infill to 30%. Printing a set of parts takes about 2 days. Here's the model download link.
Step 2: Clean Parts
All 3D printed parts need some cleaning, including re-drilling holes and removing strings.
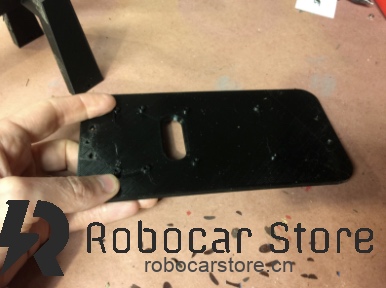

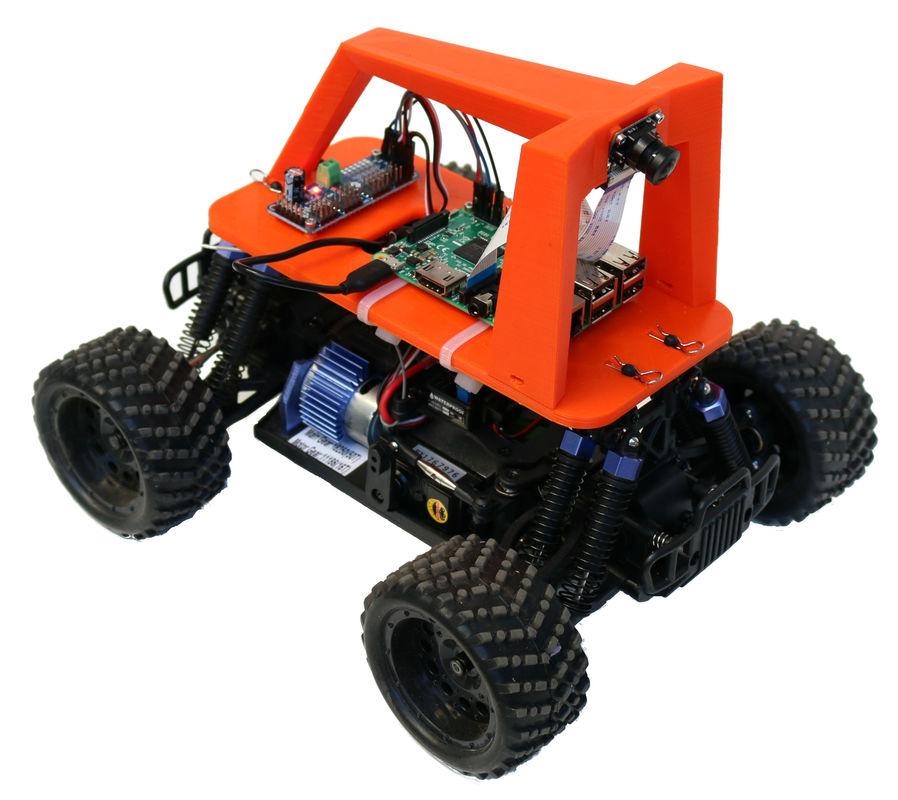
Step 3: Install Baseplate and Handle
The installation is straightforward; use M3 screws to connect the baseplate and handle. Ensure the screws are tight, as you'll use the handle to lift the car.
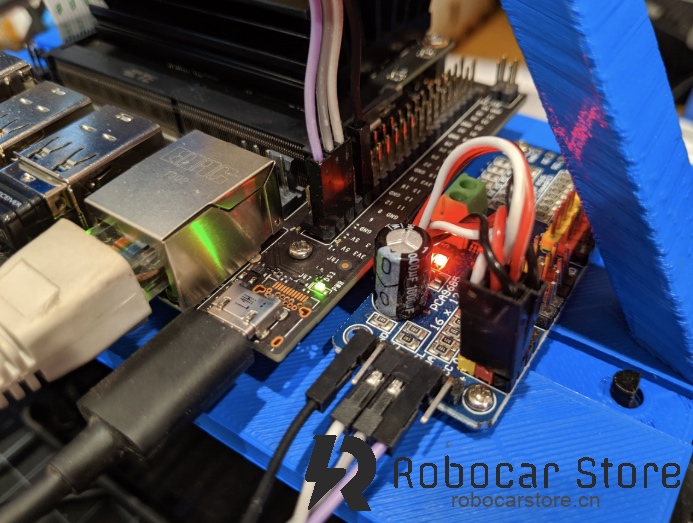
Step 4: Connect Servo Controller
Install the circuit board on the baseplate before wiring, as shown below.
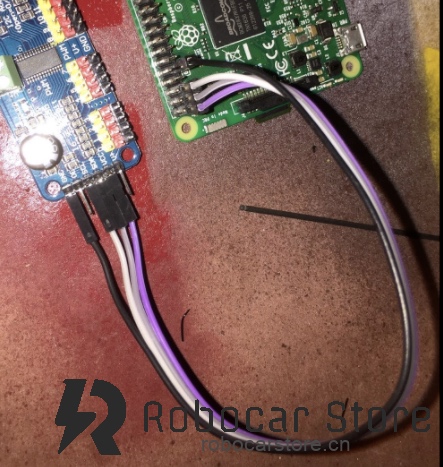
This is the Raspberry Pi layout. Connect 3.3v, two I2C pins (SDA and SCL), and Ground.
Step 5: Install Raspberry Pi on Baseplate
At this point, insert the pre-burned SD card into the Raspberry Pi slot. Then, mount the Raspberry Pi and servo controller on the baseplate using screws. Use M2.6 screws.
(Add image)
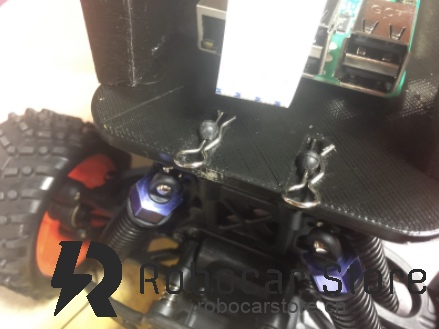
Step 6: Install Camera
Connect the camera cable, then mount it on the front of the handle, as shown:
Ensure the Raspberry Pi is installed correctly. If the camera has a protective film, remove it to avoid affecting training results.
Step 7: Mount on Chassis
Use R-clips to secure the baseplate to the chassis, then connect the power cable.
Congratulations, your car is assembled!
To drive your car, continue with the next article on software installation.