玩转JetBot自动驾驶 (三)系统安装与配置
在上一篇文章中,我们完成了JetBot的硬件安装。现在,我们将继续完成JetBot的系统安装和配置。这个过程包括刷写JetBot的SD卡镜像、启动Jetson Nano,并进行一些必要的设置,以确保JetBot能够正确运行。请按照以下步骤完成这些操作。
刷写JetBot镜像(JetBot SD card image)
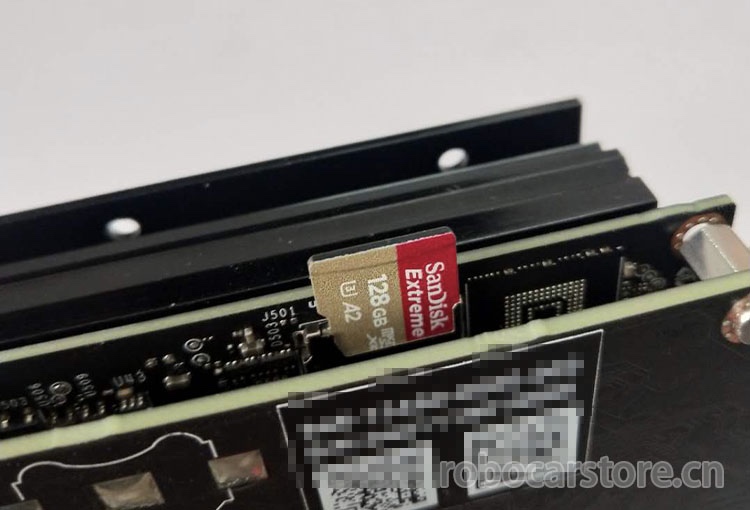
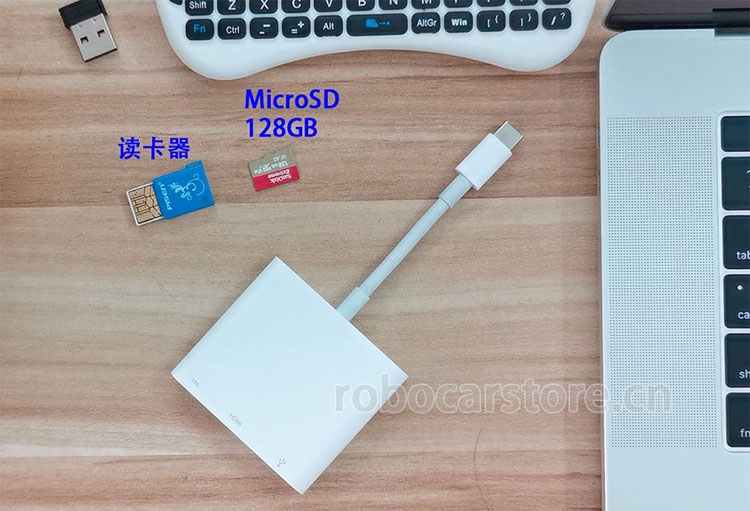
1,准备好一张64GB+的MicroSD卡
2,下载 JetBot镜像(6.87GB):
百度网盘下载:
链接:https://pan.baidu.com/s/1O8DVn28kY2-5-WBwUMZg9w 密码:dydn
如果提示你烧写的镜像大于你的MicroSD卡,请尝试下载这个镜像,解压缩后63GB:
百度网盘下载:
链接:https://pan.baidu.com/s/1FqeTe4aHYhkEFKxCCEn7XQ 密码:utvz
3,下载SD卡格式化软件「SD Memory Card Formatter」
用于正确格式化你的MicroSD卡。
官网下载:https://www.sdcard.org/downloads/formatter/
4,下载SD卡刷写软件「Etcher」
用于把.img的镜像文件写入MicroSD卡
官网下载:https://www.balena.io/etcher/
5,开始烧写
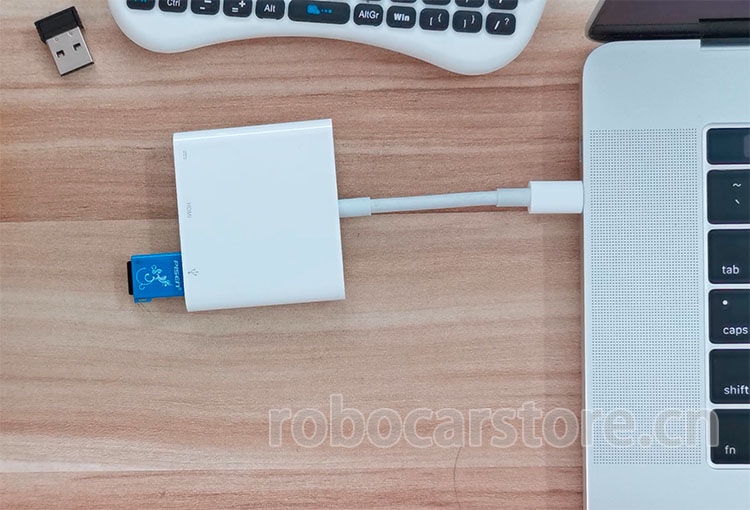
电脑使用读卡器读取MicroSD卡。
使用「SD Memory Card Formatter」格式化你的SD卡。如果电脑读取的容量与MicroSD卡标称容量相同时,则可以跳过这个步骤。
打开「Etcher」,选择你所下载的JetBot镜像文件,然后选择要刷写的MicroSD盘符,点击[Flash!],开始刷写。
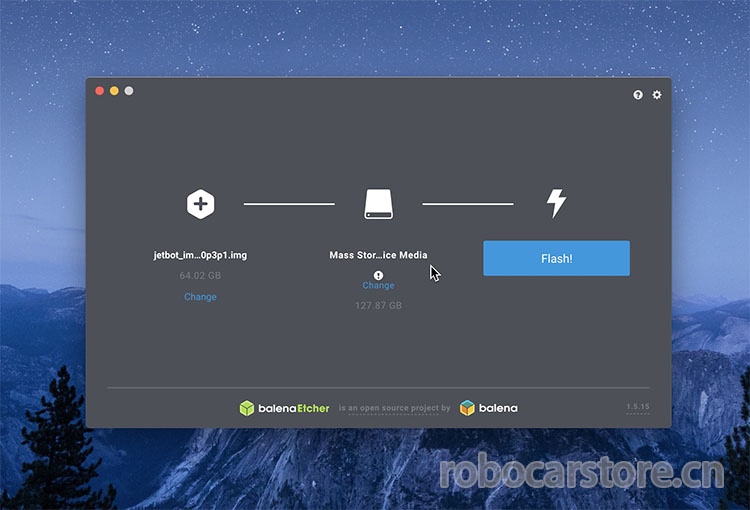
如果提示镜像超出MicroSD卡大小的情况,请使用63GB的镜像文件。
这是一个漫长的等待,整个刷写过程小编足足用了3小时多,可能使用USB3.0或者使用Windows系统,刷写时间会更快一些。
6,拔出SD卡
启动Jetson Nano
7,把MicroSD卡插入Jetson Nano
把刚才刷写完成的MicroSD卡插入Jetson Nano的MicroSD卡槽里面
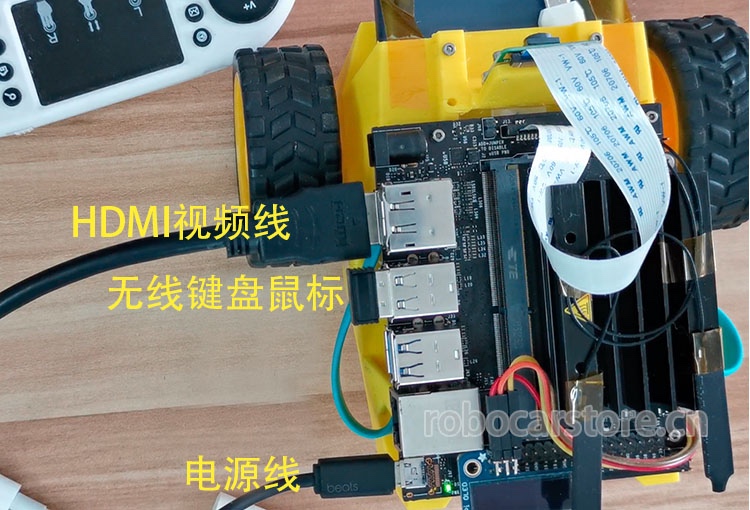
8,把显示器,键盘鼠标,电源连接上Jetson Nano
注意此时的连接的电源是使用常见的手机充电器,5V电源2A电流的插座电源头进行供电。
建议在没有连接PIOLED/电机驱动模块的情况下启动Jetson Nano。这样可以确保系统可以正确启动,而不用担心其他硬件所带来不确定问题。在正常启动关机后,再重新连接PiOLED/电机驱动,并仔细检查接线是否正确,然后再通电重新启动。
设置JetBot 连接 本地Wifi
9,开机账号
接通电源后,会见到显示器出现英伟达的LOGO,其实这是一个ubuntu系统,稍等片刻,就能看到输入密码界面,账号密码均是:jetbot
10,进入系统设置好WiFi
在右上角找到网络连接的图标,设置连接你正在使用的WiFi,这样在下次开机的时候JetBot就会自动连接你所设置的Wifi,并把获得的局域网IP显示在PiOLED屏幕上。
11,关机
当你设置好WiFi的时候,可以点击右上角电源图标,点开找到「shutdonw」进行关机。
12,拔掉JetBot的插座电源线,显示器,鼠标,键盘
确保已经关机的时候,把所有刚才外接,包括插座电源线,显示器视频线,无线鼠标键盘统统去掉。
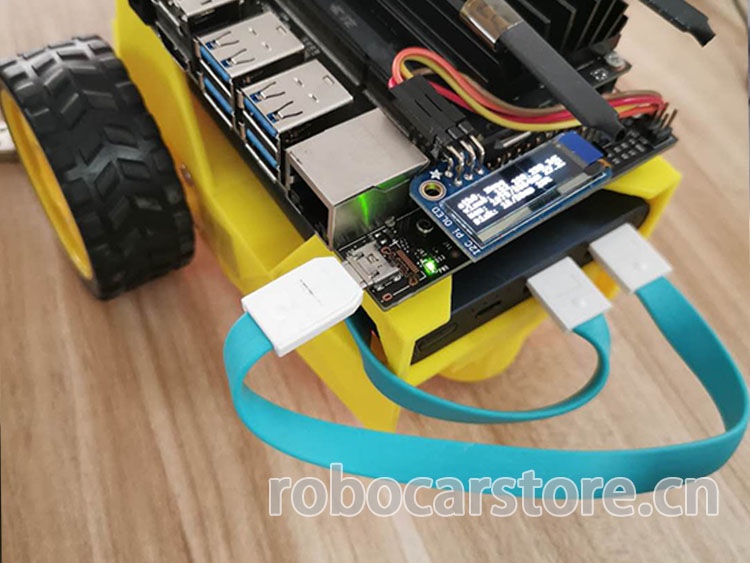
13,通过MicroUSB数据线,使用移动电源给JetBot供电。
这次是使用两条MicroUSB数据线连接移动电源,一条为JetBot供电,另一条则为电机驱动模块供电。
14,等待JetBot开启完成,大概2分钟左右
15,查看PiOLED上显示的IP地址
经过大概2分钟左右的等待,可以看到PiOLED的屏幕上显示有当前的JetBot信息,包括IP地址,内存占用情况等等。
16,在浏览器输入网址:http://:8888
例如,小编的JetBot IP地址是:192.168.199.142,就在电脑的浏览器上输入地址:http://192.168.199.142:8888,可以看到如下界面,密码输入:jetbot,登入系统。

设置电源模式
为了确保Jetson Nano不会比电池组提供更多电流,请通过调用以下命令将Jetson Nano置于5W模式。
17,通过浏览器连接你的JetBot ,http://:8888
18,点击 + 打开一个控制台,运行一个终端

20,设置5W模式,输入以下命令
sudo nvpmodel -m1
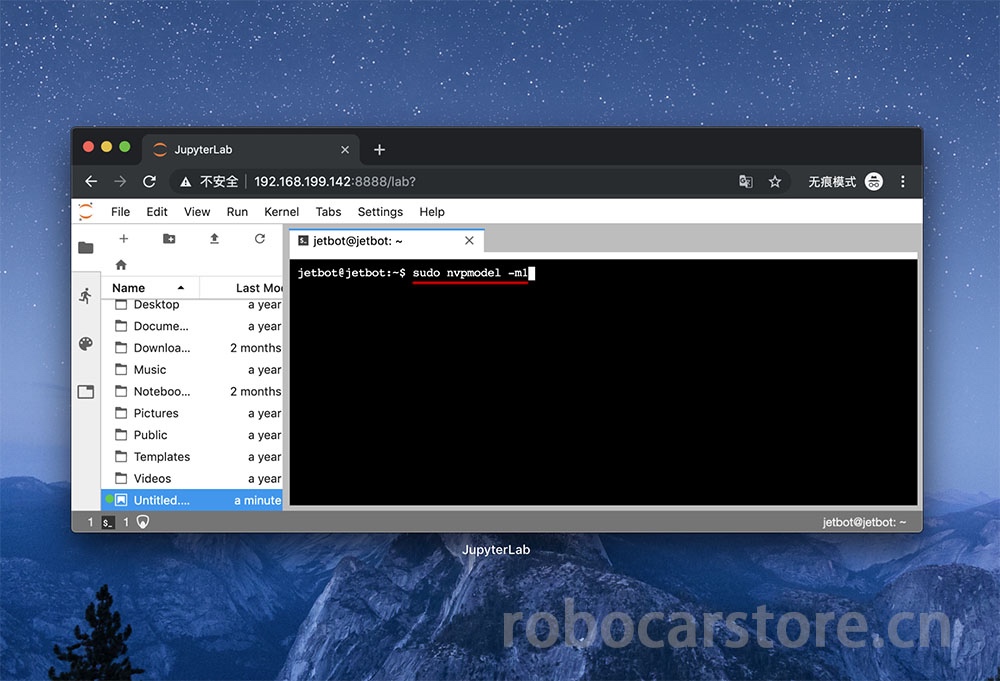
会提示请输入密码,密码为:jetbot
21,检查是否设置成功,输入以下命令
sudo nvpmodel -q
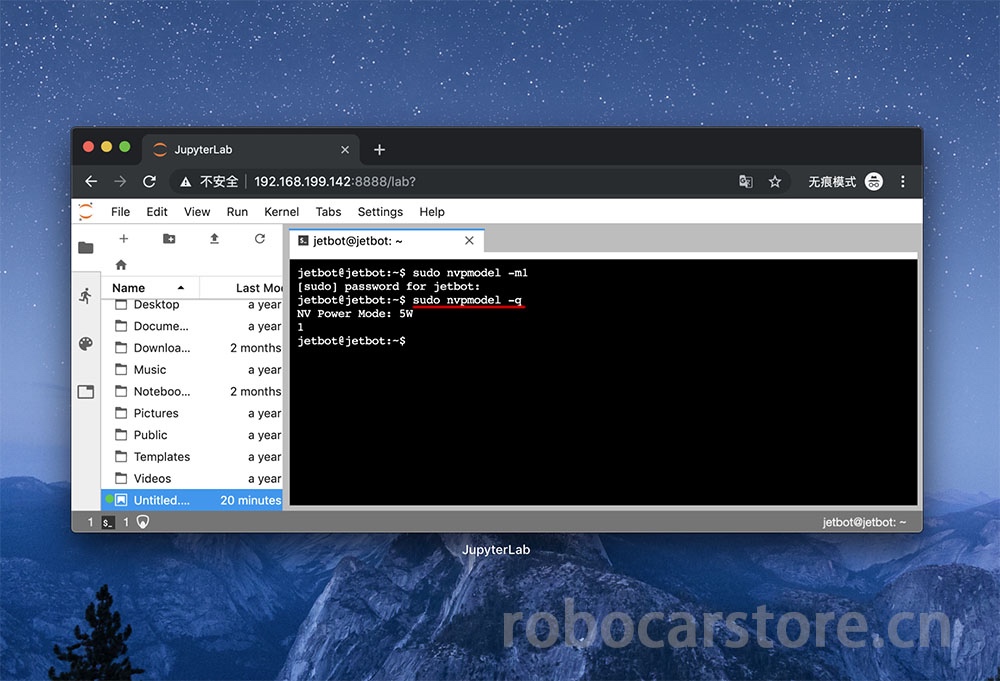
可以看到「NV Power Mode: 5W」,这就设置成功。
安装最线版本的软件(此步骤可选)
当然,你也可以不更新,直接使用系统原有的版本。
22,运行一个终端
23,下载安装最新版本,输入以下命令
git clone https://github.com/NVIDIA-AI-IOT/jetbot

sudo python3 setup.py install
24,覆盖旧版本的程序,输入以下命令
sudo apt-get install rsync

rsync jetbot/notebooks ~/Notebooks
一切准备就绪,下一次将打开机器学习的大门。
to be continue……